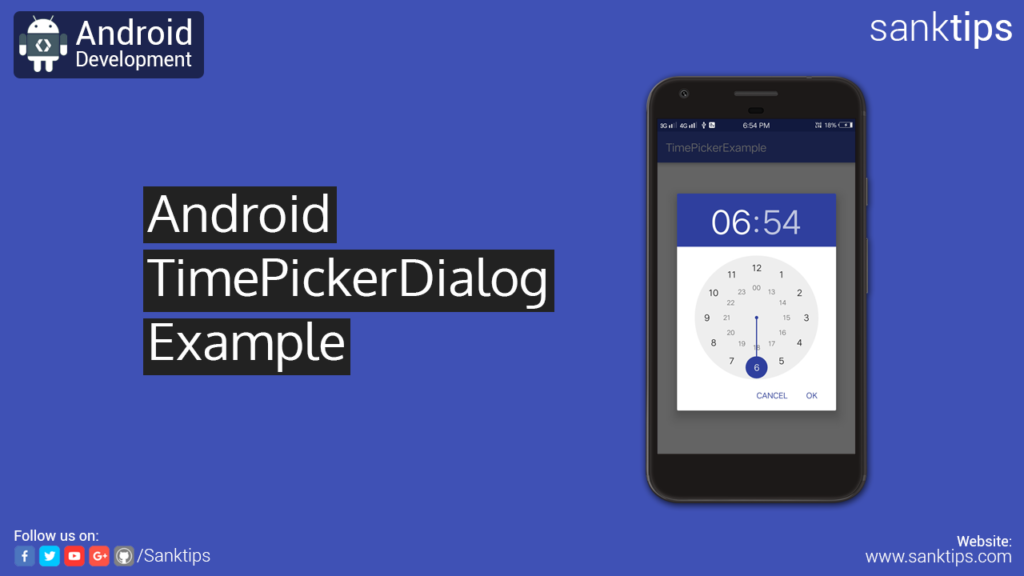
In this article, will see how to implement TimePickerDialog into our Android Studio Project. TimePickerDialog is a popup dialog that is viewed over the main view of the application.
To implement TimePickerDialog, we need 5 arguments to be passed while creating the object.
context: You need to specify the application context i.e the current activity.
onTimeSetListner: this method is invoked when the user has selected the time. onTimeSet() method is use to take the time value that the user has set into TimePickerDialog.
hour: It shows the current hour, when the dialog is opened.
minute: It shows the current minute, when the dialog is opened.
is24HourView: It is a boolean parameter to show the TimePickerDialog into 24hour format or not.
In onTimeSet(), that is the overriding method of the OnTimeSetListner helps you get the hour and minute value that the user has selected.
Steps and source code to implement TimePickerDialog:
– First Create a new Project TimePickerDialogExample.
– Create an empty activity i.e MainActivity.
– Now add TextView to your Activity layout file
activity_main.xml file:
<?xml version="1.0" encoding="utf-8"?>
<RelativeLayout
    xmlns:android="http://schemas.android.com/apk/res/android"
    xmlns:app="http://schemas.android.com/apk/res-auto"
    xmlns:tools="http://schemas.android.com/tools"
    android:layout_width="match_parent"
    android:layout_height="match_parent"
    tools:context="com.sanktips.timepickerexample.MainActivity">

<TextView
        android:id="@+id/textView2"
        android:layout_width="wrap_content"
        android:layout_height="wrap_content"
        android:layout_above="@+id/textView"
        android:layout_centerHorizontal="true"
        android:layout_marginBottom="42dp"
        android:text="TimePicker Example"
        android:textSize="24sp" />

<TextView
        android:id="@+id/textView"
        android:layout_width="wrap_content"
        android:layout_height="wrap_content"
        android:layout_centerHorizontal="true"
        android:layout_centerVertical="true"
        android:text="00 : 00"
        android:textSize="24sp" />

</RelativeLayout>
– Then we will add the TimePickerDialog code into the MainActivity.java.
– In the TextView we are going to display the current time with the help of the Calendar class.
– After that we will be using onClickListener onto our TextView to open the TimePickerDialog.
– And then user selects the time and click OK. Thereafter, the time shown in TextView will be the time that user has selected.
– selectedTimeFormat() is an additional method made to format the time and display it in our TextView.
MainActivity.java file:
package com.sanktips.timepickerexample;


import android.app.TimePickerDialog;
import android.support.v7.app.AppCompatActivity;
import android.os.Bundle;
import android.view.View;
import android.widget.TextView;
import android.widget.TimePicker;

import java.util.Calendar;


public class MainActivity extends AppCompatActivity {

    TextView tv;
    Calendar currentTime;
    int hour, mhour, minute;
    String format;

    @Override
    protected void onCreate(Bundle savedInstanceState) {
        super.onCreate(savedInstanceState);
        setContentView(R.layout.activity_main);

        tv = (TextView) findViewById(R.id.textView);

        currentTime = Calendar.getInstance();

        hour = currentTime.get(Calendar.HOUR_OF_DAY);
        minute = currentTime.get(Calendar.MINUTE);

        mhour = selectedTimeFormat(hour);

        tv.setText(mhour + " : " + minute + " " + format);

        tv.setOnClickListener(new View.OnClickListener() {
            @Override
            public void onClick(View v) {

                TimePickerDialog timePickerDialog = new TimePickerDialog(MainActivity.this, new TimePickerDialog.OnTimeSetListener() {
                    @Override
                    public void onTimeSet(TimePicker view, int hourOfDay, int minute) {
                        hourOfDay = selectedTimeFormat(hourOfDay);
                        tv.setText(hourOfDay + " : " + minute + " " + format);
                    }
                }, hour , minute, true);
                timePickerDialog.show();
            }
        });

    }


    public int selectedTimeFormat(int hour){

        if(hour == 0){
            hour += 12;
            format = "AM";
        } else if(hour == 12){
            format = "PM";
        } else if(hour > 12){
            hour -= 12;
            format = "PM";
        } else {
            format = "AM";
        }

        return hour;

    }

}
– So, we are done with the implementation of TimePickerDialog. Run the project to see the result.
Hope you find this article helpful. Join us on Facebook, Twitter and Google+ to get more updates on Android Development Tutorials.