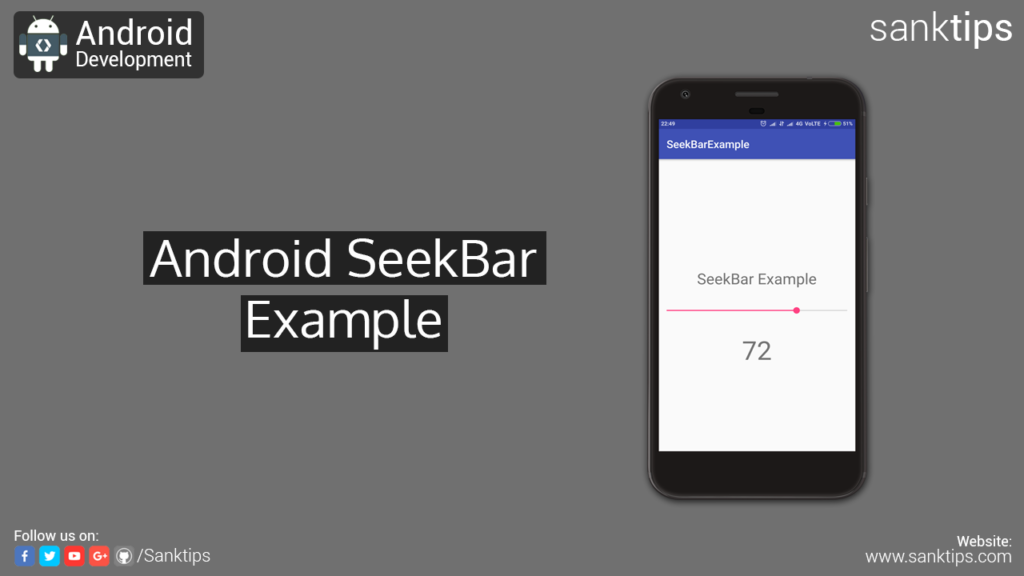
In this article, will see how to implement SeekBar into our Android Studio Project. A SeekBar is an extension of ProgressBar that adds a draggable thumb, a user can touch the thumb and drag left or right to set the value for current progress.
Seekbar component help in making user friendly UI for developers, So that the user can drag and select the value of their choose. Examples for SeekBar are volume control and brightness control for a particular device.
SeekBar has a callback listener i.e. OnSeekBarChangeListener, that help to notify user the changes happened in progress level of SeekBar. While implementing OnSeekBarChangeListener, we also need to implement the three abstract methods.
Methods that are to be implemented are:
onProgressChanged(SeekBar seekBar, int i, boolean b) – In this method you can get the integer value of the position at which the user has left the dragger.
onStartTrackingTouch(SeekBar seekBar) – In this method you can notify user that he has touched the thumb to drag it to a certain position.
onStopTrackingTouch(SeekBar seekBar) – In this method you can notify user that he has stopped dragging thumb.
You also have methods that are commonly used with SeekBar. setMax() and getMax() are methods to set and get the max value for the Seekbar. Whereas, We also have setProgress() and getProgress() methods to set and get the progress level of our SeekBar.
Steps and source code to implement SeekBar:
– First Create a new Project SeekBarExample.
– Create an empty activity i.e MainActivity.
– Now add SeekBar to your Activity layout file
activity_main.xml file:
<?xml version="1.0" encoding="utf-8"?>
<RelativeLayout xmlns:android="http://schemas.android.com/apk/res/android"
          xmlns:app="http://schemas.android.com/apk/res-auto"
          xmlns:tools="http://schemas.android.com/tools"
          android:layout_width="match_parent"
          android:layout_height="match_parent"
          tools:context="com.sanktips.seekbarexample.MainActivity">


<TextView
          android:layout_above="@id/seekbarExample"
          android:layout_marginBottom="32dp"
          android:textAlignment="center"
          android:textSize="28sp"
          android:text="SeekBar Example"
          android:layout_width="match_parent"
          android:layout_height="wrap_content" />

<SeekBar
          android:id="@+id/seekbarExample"
          android:layout_width="match_parent"
          android:layout_height="wrap_content"
          android:max="100"
          android:layout_alignParentLeft="true"
          android:layout_alignParentStart="true"
          android:layout_centerVertical="true" />

<TextView
          android:id="@+id/seekBarValueTxt"
          android:layout_below="@id/seekbarExample"
          android:layout_marginTop="32dp"
          android:textAlignment="center"
          android:textSize="48sp"
          android:text="0"
          android:layout_width="match_parent"
          android:layout_height="wrap_content" />


</RelativeLayout>
– Then we will set the OnSeekBarChangeListener into our MainActivity class to track the user events.
MainActivity.java file:
package com.sanktips.seekbarexample;

import android.support.v7.app.AppCompatActivity;
import android.os.Bundle;
import android.widget.SeekBar;
import android.widget.TextView;
import android.widget.Toast;

public class MainActivity extends AppCompatActivity {


    SeekBar mSeekBar;
    TextView mTxtValue;
    String value;

    @Override
    protected void onCreate(Bundle savedInstanceState) {
        super.onCreate(savedInstanceState);
        setContentView(R.layout.activity_main);

        mSeekBar = (SeekBar) findViewById(R.id.seekbarExample);
        mTxtValue = (TextView) findViewById(R.id.seekBarValueTxt);

        mSeekBar.setProgress(25);

        value = String.valueOf(mSeekBar.getProgress());

        mTxtValue.setText(value);

        mSeekBar.setOnSeekBarChangeListener(new SeekBar.OnSeekBarChangeListener() {
            @Override
            public void onProgressChanged(SeekBar seekBar, int i, boolean b) {

                value = String.valueOf(i);
                mTxtValue.setText(value);

            }

            @Override
            public void onStartTrackingTouch(SeekBar seekBar) {

		Toast.makeText(MainActivity.this, "You Started Dragging", Toast.LENGTH_SHORT).show();

            }

            @Override
            public void onStopTrackingTouch(SeekBar seekBar) {

		Toast.makeText(MainActivity.this, "You Stopped Dragging", Toast.LENGTH_SHORT).show();

            }
        });

    }
}
– So, we are done with the implementation of SeekBar. Run the project to see the result.
Hope you find this article helpful. Join us on Facebook, Twitter and Google+ to get more updates on Android Development Tutorials.